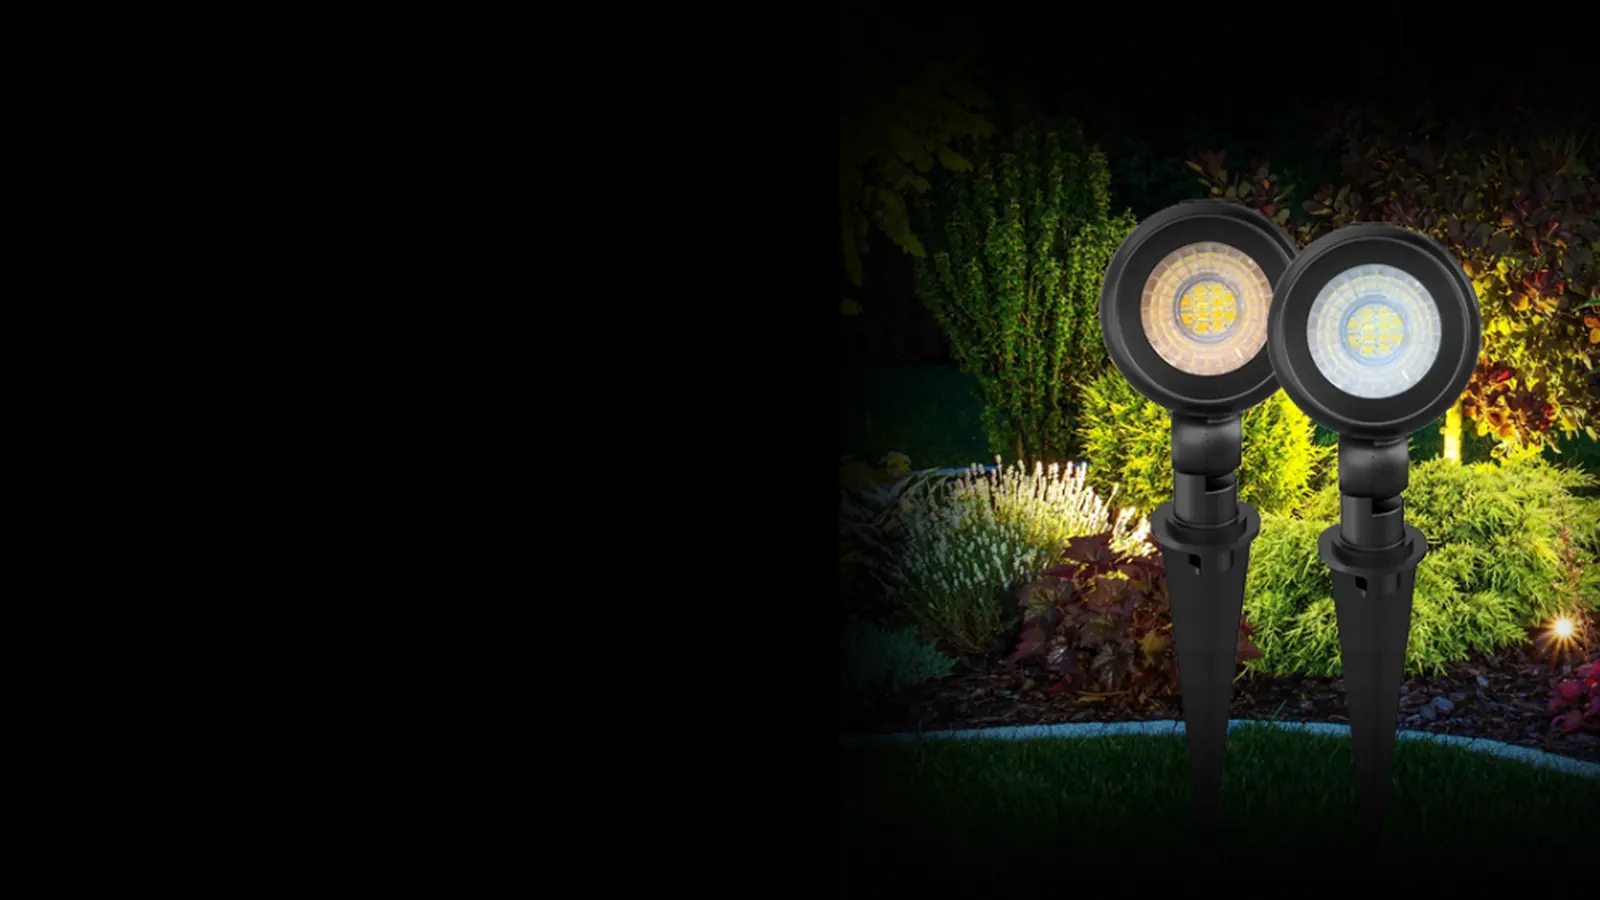
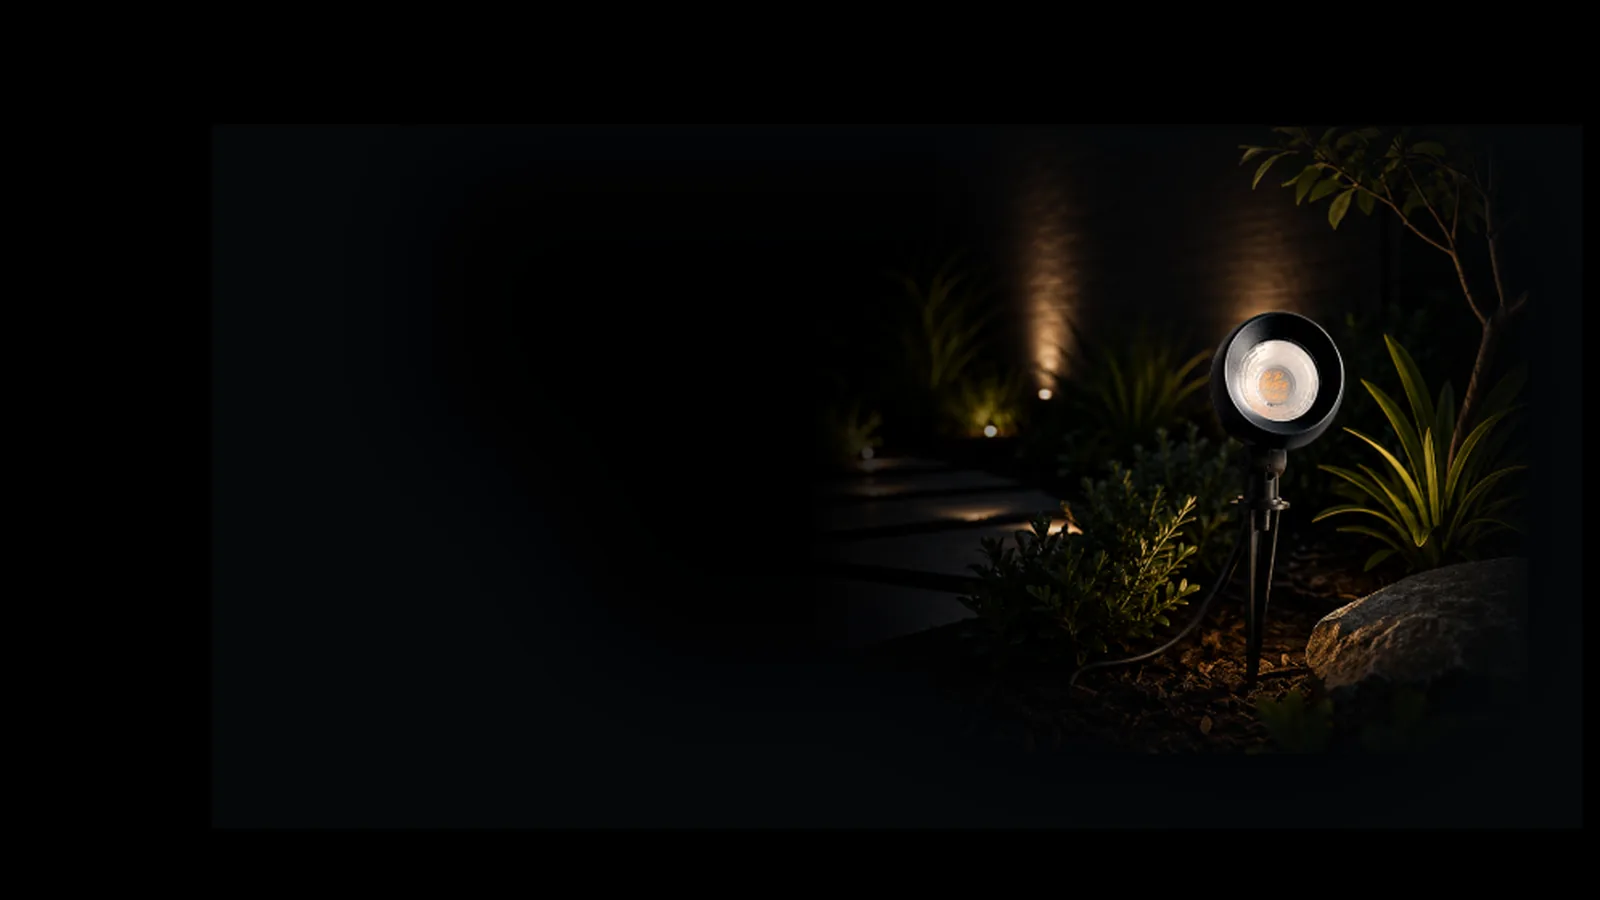
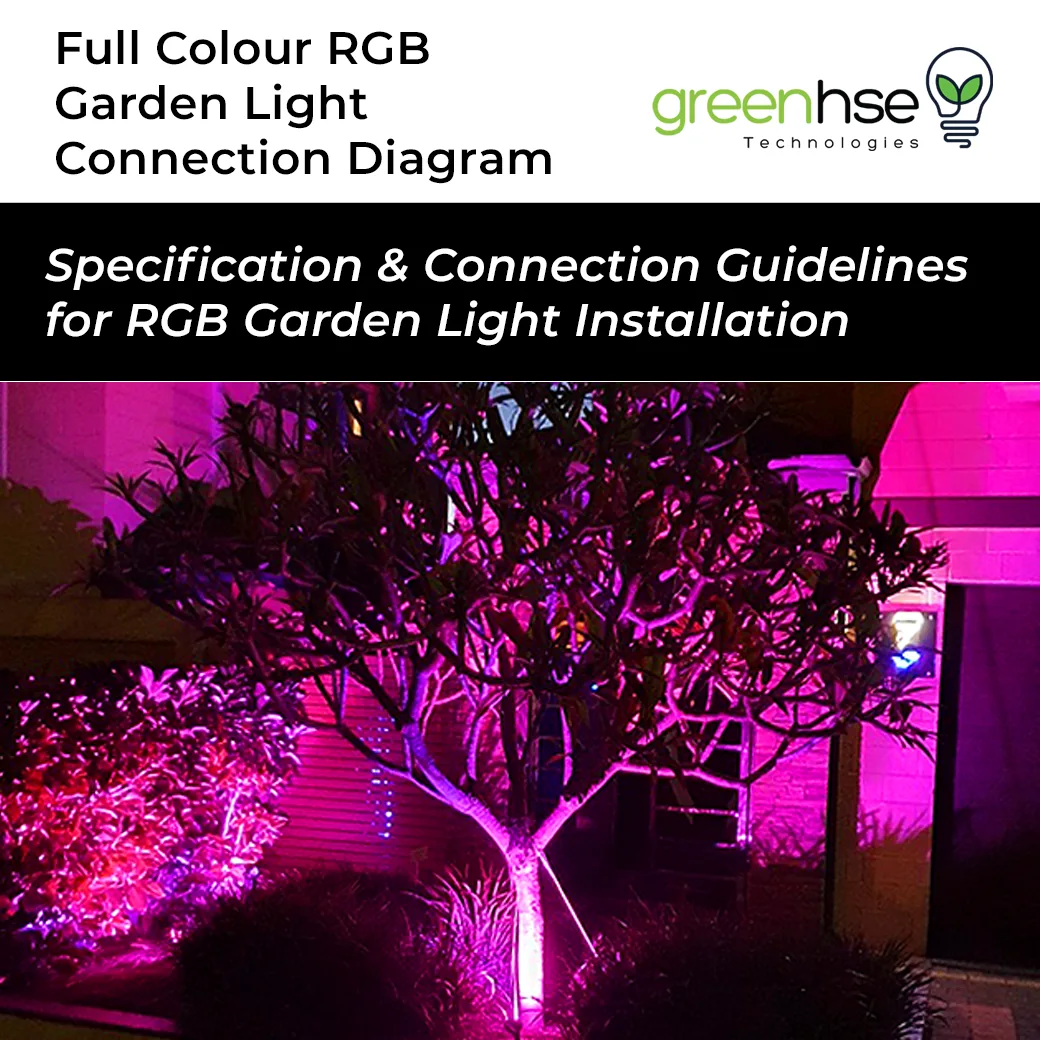
This guide explains how a full colour garden lighting system goes together: the LED Garden RGBW lights themselves, the RGB/RGBW/RGBWW LED Controller, the LED wireless remote controllers, the transformer, the cables and connectors, and how to wire them correctly. Getting voltage compatibility and wiring right is what gives the system reliable, long-lasting performance. It is not as complicated as it looks, provided the steps below are followed carefully.
How a 12V RGB garden light system works
The garden lights run on 12 volts, not mains power. A 12V transformer (also called a driver or power supply) plugs into a standard outdoor power point and converts 240V mains to safe low voltage. The transformer feeds a 3-in-1 LED controller, which receives commands from a remote or the Tuya or Smart Life app and sends the colour signal down the cable to the lights. Each light has a 1m cable and connects to the run through a T-piece, so lights daisy-chain along a single line with extension cords between them.
Choosing the transformer and controller
The transformer size depends on how many lights you run. The connection diagram shows two standard configurations:
- 75W 12V IP65 transformer, $75 + GST: suitable for up to 7 lights, wired through one 3-in-1 LED controller.
- 200W 12V IP65 transformer, $110 + GST: suitable for up to 16 lights. The transformer feeds two 3-in-1 controllers, each running its own line of up to 8 lights.
Each 3-in-1 controller drives a maximum of 8 lights, so larger gardens use several controllers in parallel from the one transformer. Both controllers can be paired to the same remote or app so all the lights change colour together. IP65 means the transformer is protected against dust and water jets, but it should still be mounted in a sheltered position off the ground.
Controller options are:
- 3-in-1 Controller, $15 + GST: works with the 2.4GHz wireless remotes.
- 3-in-1 SMART Controller, $25 + GST: works with the remotes and also with the Tuya or Smart Life app on a smartphone or smart device, allowing timers, schedules and other smart functions.
Wiring the 3-in-1 controller
The controller has an input side from the transformer and an output side to the lights. Polarity matters.
- Input: connect V+ to the red wire and V- to the black wire from the transformer. If the input is wired incorrectly the controller will fail, and this is not covered by warranty, so double check before powering up.
- Output: connect Black to V+, Red to R, Green to G and Blue to B on the light cable.
- SET button: the controller has a SET selector. It must be set so that the RED indicator light shows on the controller. This puts the controller in the correct mode for the RGB garden lights.
- Run 1m of cable from the controller to the first T-piece, then continue the line with T-pieces and extension cords.
Fitting the transformer to the power point and any fixed wiring is work for a licensed electrician. The low-voltage plug-and-play cables and T-pieces on the 12V side are designed to be clicked together without tools.
Cables, T-pieces and spacing
Each T-piece has 0.2m tails either side and provides a socket for one light. Extension cords of 1m or 3m run between T-pieces, so you can space lights to suit the garden beds. Prices from the diagram:
- Garden light with 1m cable, RGB: $38 + GST
- T-piece: $7 + GST
- Extension cord 1m: $7 + GST
- Extension cord 3m: $11 + GST
Count the lights, sketch the run and note the distance between each fitting before ordering. You need one T-piece per light and one extension cord for each gap between T-pieces. To ensure long life, apply silicone to the connectors when joining them. Connectors age over time and water can damage cables and connections, so seal every join and keep plugs above soil level where possible.
Remote and app control
Both controller types are controlled by 2.4GHz wireless remotes:
- RGB+CCT hand remote, $17 + GST: colour wheel, brightness and white adjustment.
- Black or White 4-Zone wall remote, RGB+CCT, $35 + GST: a wall-mounted panel that controls up to four separate zones, for example front garden, rear garden, pool area and entry.
With the SMART controller you can also use the Tuya or Smart Life app on a mobile phone to add timers and schedules, set scenes and link the garden lights to voice assistants and the rest of your smart home.
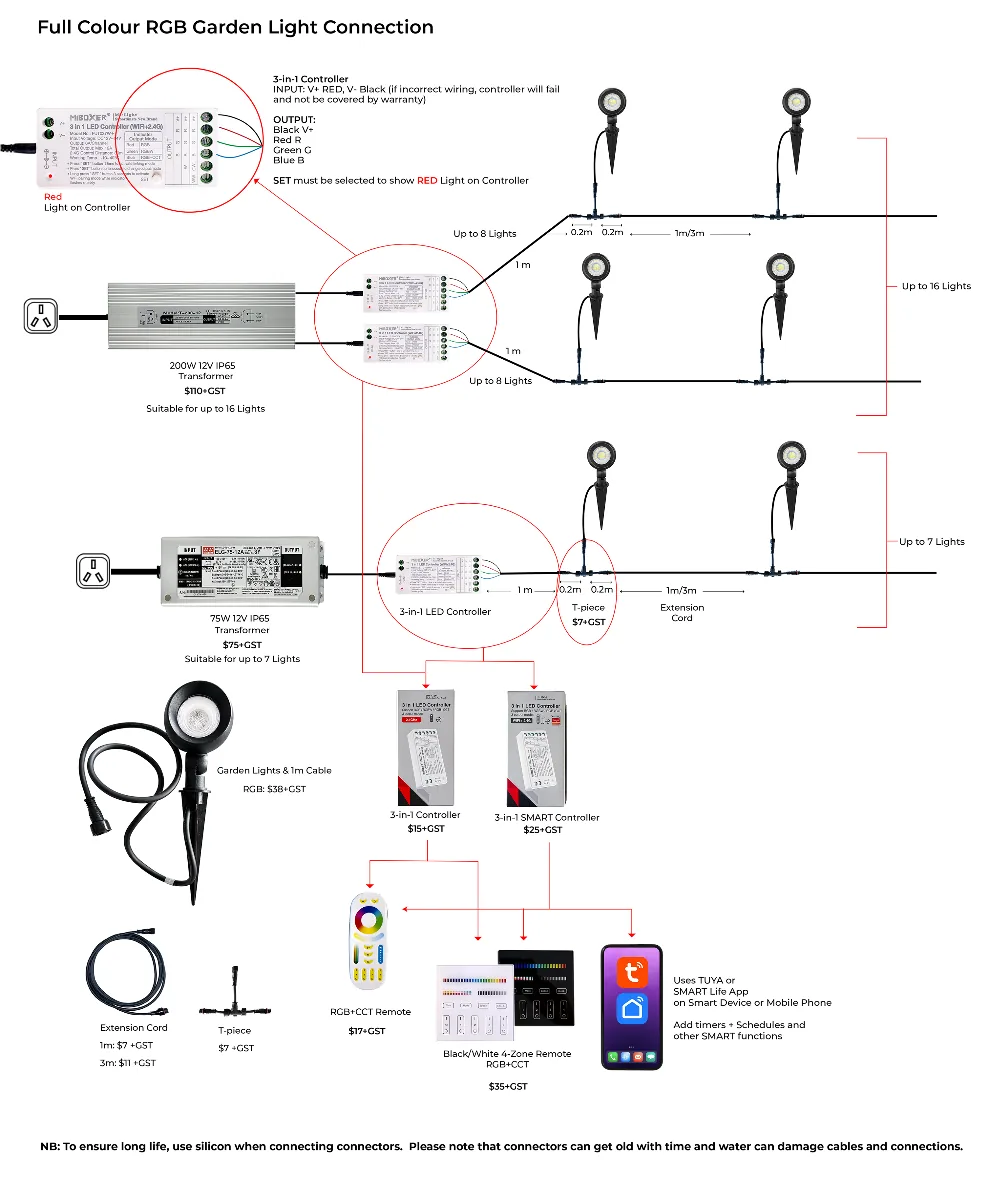
You can also download the complete RGB garden lights connection guide as a PDF to keep on site during installation.
Installation checklist
- Decide the number of lights and choose the 75W (up to 7 lights) or 200W (up to 16 lights) 12V transformer.
- Choose one 3-in-1 controller per line of up to 8 lights, standard or SMART.
- Measure the run and order T-pieces and 1m or 3m extension cords.
- Wire the controller input (V+ red, V- black) and output (Black V+, Red R, Green G, Blue B), and set SET to show the RED light.
- Seal all connectors with silicone, power up and pair the remote or app.
If you would like help choosing the right components for your garden, Greenhse Technologies in Perth can put a complete kit together for you. Call (08) 9297 2969 or visit the showroom at 5/1 Locke Lane, Ellenbrook WA 6069 to see the RGBW garden lights in action.
Shop the range