Connecting LED garden lights involves several key components and steps that must be followed carefully. This guide walks through the single colour connection diagram: the transformer, the controller, the cable and the lights, plus the three layouts you can choose from. Review the specifications below before ordering so that every part is compatible and the system performs reliably for years.
Why garden lighting is worth doing well
Well-placed garden lights transform a home's exterior after dark. Whether you are illuminating pathways, highlighting garden features or creating a relaxing space for evening gatherings, LED garden lights give you the versatility and brightness you need, all year round. Because the system runs on 12V direct current from a plug-in transformer, the outdoor cabling is extra-low voltage. The 240V side of the transformer must still be installed by a licensed electrician if a new outdoor power point is required.
Components in the single colour system
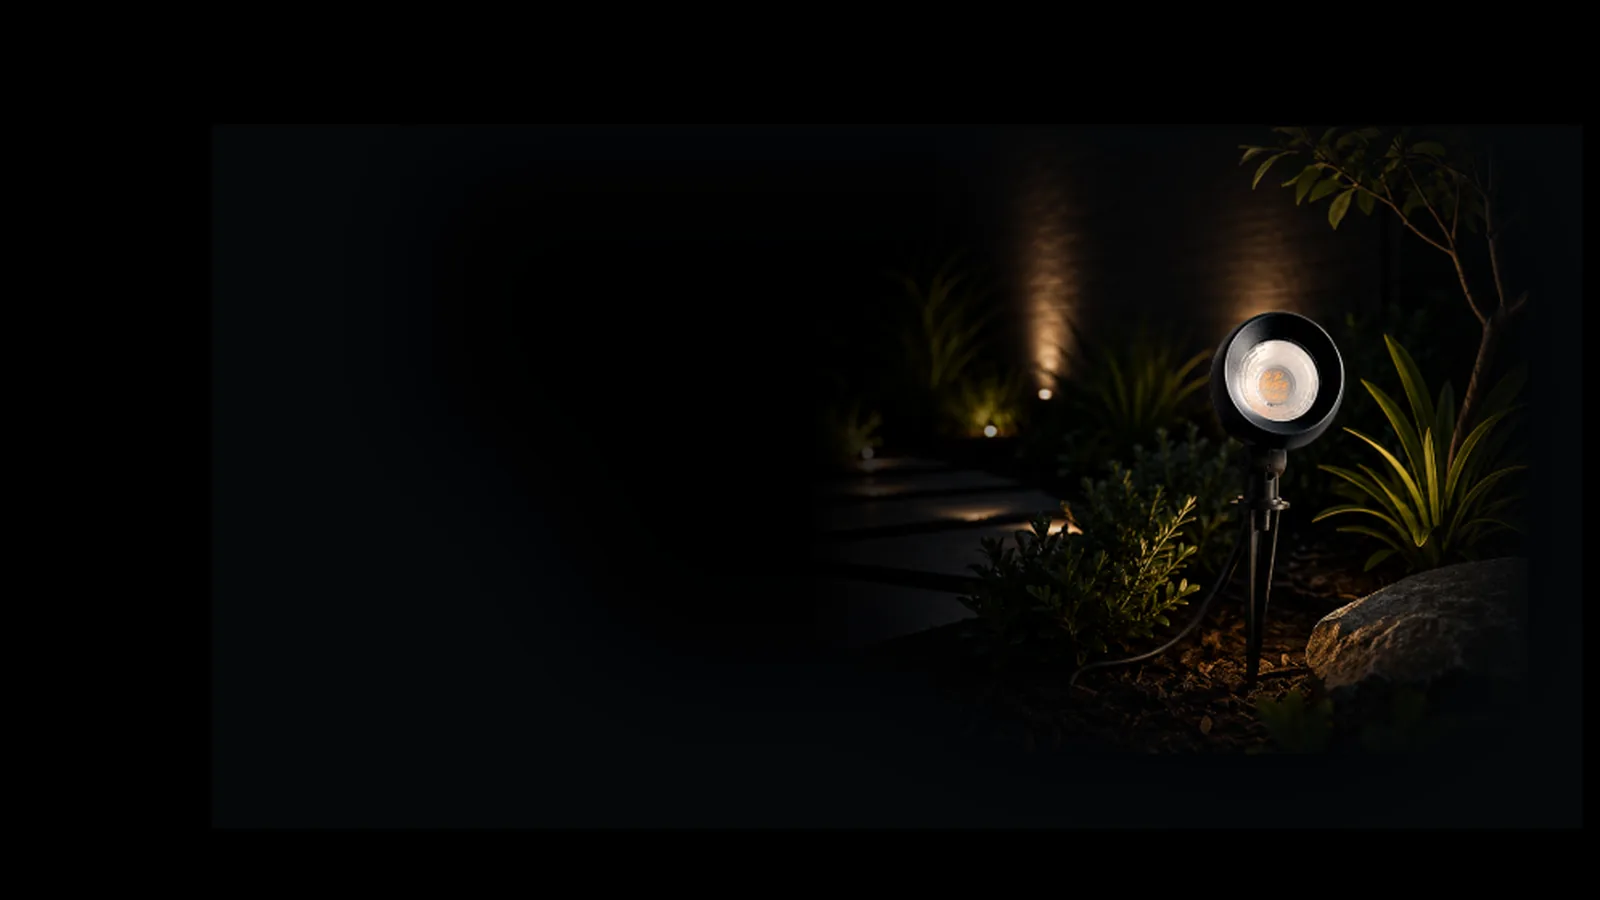
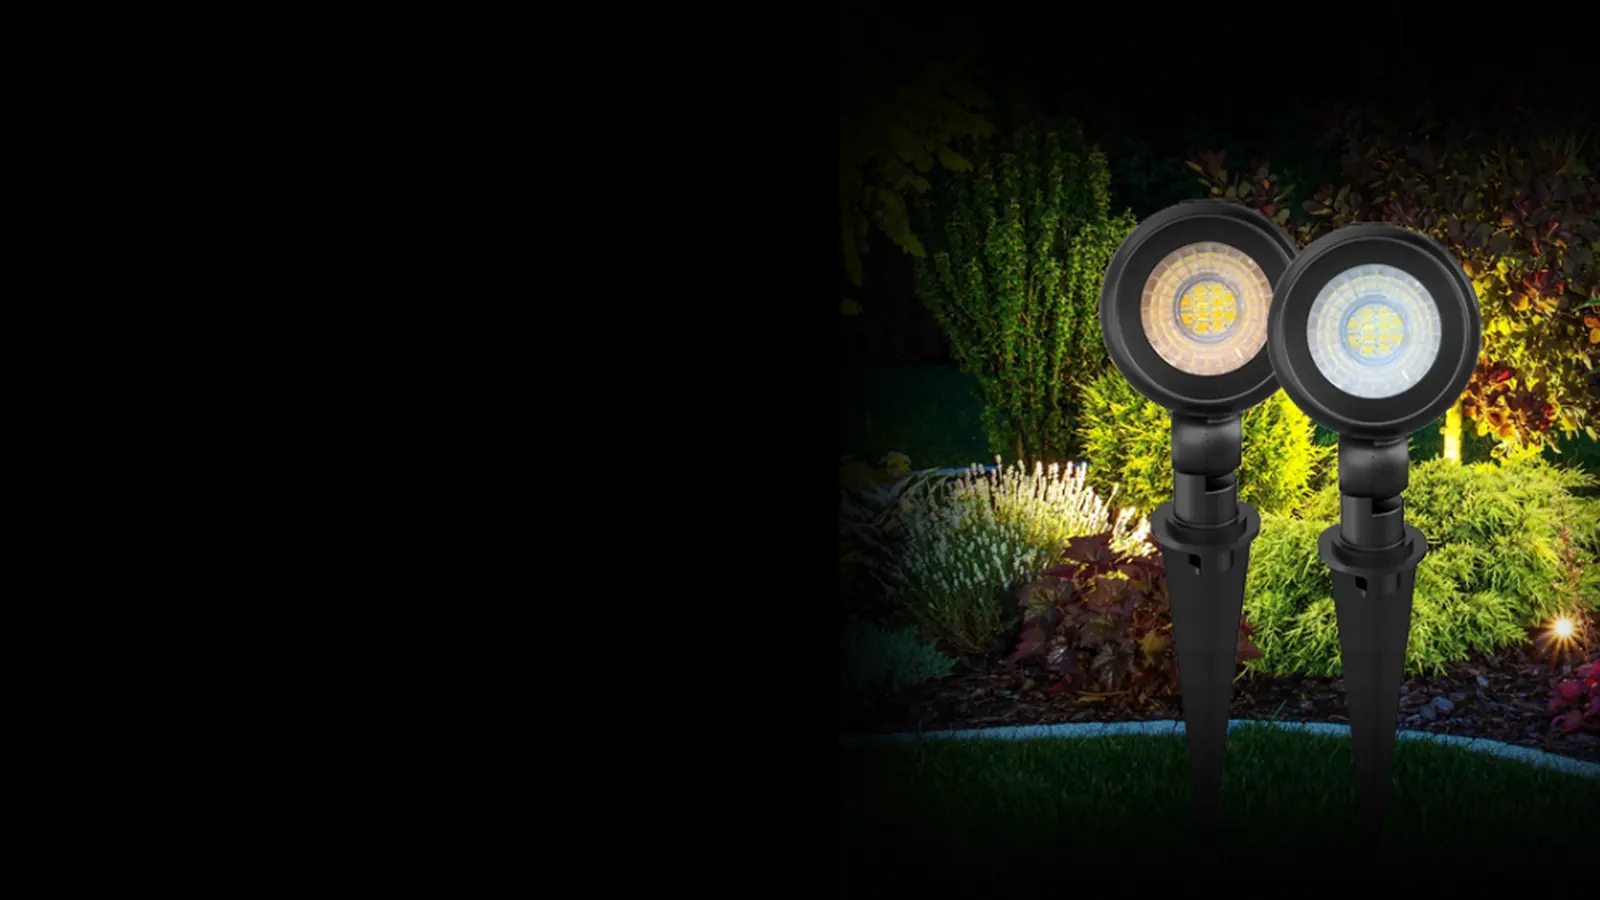
- 10W LED garden light with 1 m of cable attached, available in 3000K (Warm White) or 4000K (Natural White), $28 +GST each. See the 10W LED Garden Light.
- 200W 12V (IP65) transformer, suitable for up to 16 lights, $110 +GST.
- 75W 12V IP65 transformer, suitable for up to 7 lights, $75 +GST.
- 2-core rubberised cable for the run between the lights, $2 +GST per metre.
- 2-in-1 controller (single colour or dual white), $15 +GST, which adds dimming and control. See the Single Colour/Dual White LED Controller.
- 2-in-1 SMART controller, $25 +GST, which adds app control through the TUYA or SMART Life app on a smart device or mobile phone, including timers, schedules and other SMART functions.
- Black or white Sunrise remote, CCT adjustable and dimming, $18 +GST.
- Black or white 4-zone glass remote, $35 +GST.
Sizing is simple: each light draws 10W, so the 75W transformer comfortably runs 7 lights and the 200W transformer runs 16. Do not exceed these counts, because an overloaded transformer runs hot and fails early.
Wiring the 2-in-1 controller
The controller sits between the transformer and the lights. Its terminals are marked and the polarity matters.
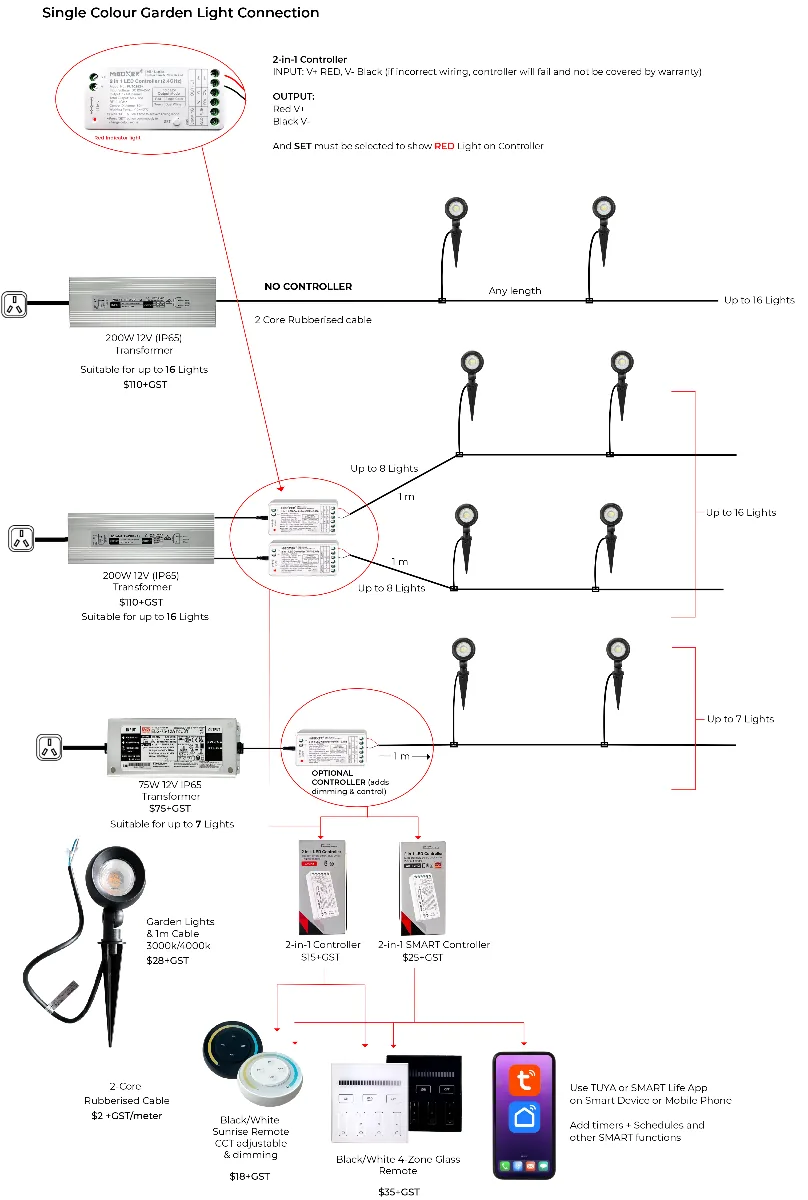
- Input: V+ to the red wire and V- to the black wire from the transformer.
- Output: red to V+ and black to V- on the light cable.
- If the controller is wired incorrectly it will fail, and this is not covered by warranty. Check red and black twice before switching on.
- After power is applied, the SET button must be selected so that the RED light shows on the controller. This confirms the controller is in the correct mode and ready to pair with a remote or the app.
Three connection layouts
Layout 1: no controller, up to 16 lights
- Plug the 200W 12V (IP65) transformer into the outdoor power point.
- Run 2-core rubberised cable from the transformer output along the garden bed. This run can be any length.
- Join each garden light's 1 m lead to the main cable, matching red to red and black to black.
- Connect up to 16 lights. The lights switch on and off with the transformer, so use a switched power point or a timer.
Layout 2: two controllers, up to 16 lights
- Plug in the 200W 12V (IP65) transformer.
- Connect two 2-in-1 controllers to the transformer output, each wired V+ red and V- black as described above.
- From each controller, run about 1 m of cable to the start of its own light run.
- Connect up to 8 lights on each controller, giving up to 16 lights in total, with two independently dimmable zones.
Layout 3: optional controller, up to 7 lights
- Plug in the 75W 12V IP65 transformer.
- Connect one optional 2-in-1 controller or 2-in-1 SMART controller to the transformer output, then run 1 m of cable to the light run.
- Connect up to 7 lights. The controller adds dimming and control from a remote or the app.
Choosing a remote or the app
Both 2-in-1 controllers pair with the Sunrise remote for CCT adjustment and dimming, or with the 4-zone glass wall remote for separate zones. The SMART controller also connects to the TUYA or SMART Life app, so you can set sunset timers and schedules, dim the garden from the couch and add the lights to scenes with your indoor smart lighting.
The full diagram is available as a PDF: Single Colour Garden Lights connection guide.
Installation tips
- Use waterproof joiners on every cable connection and keep joins above ground where possible.
- Keep polarity consistent along the whole run so every light receives the correct supply.
- Place the transformer in a sheltered spot even though it is IP65 rated.
- Leave some spare capacity on the transformer if you plan to add lights later.
Order the correct transformer, controller, cable and lights together and the installation will be straightforward. Greenhse Technologies in Perth can put together a complete garden lighting kit for your layout. Visit the showroom at 5/1 Locke Lane, Ellenbrook WA 6069 or call (08) 9297 2969 for advice on the right components for your garden.
Shop the range