Following 'What Do You Need To Make Your Home Smart?' and 'Smart Lighting Products and Accessories in Perth', this guide covers connecting smart switches, lights, kinetic switches, Zigbee devices and gateways on the Smart Life or Tuya app.
A. Connecting and set-up
Ensure your WiFi works well. For more than 10 smart devices, invest in a good extender such as the UBIQUITI U6-LR.
- Set up a separate 2.4GHz network with its own name and password, or ask your provider or WiFi supplier to. Use a name and password you can enter correctly every time.
- Load and register the Smart Life or Tuya app. With products at home and at the office, register both apps, one for each, with Alexa or Google on a different account for each. This keeps management simpler.
- Select the 2.4GHz option on your smart device and check signal strength where it will be added (3 bars or more).
- Follow the product instructions using the same 2.4GHz name and password.
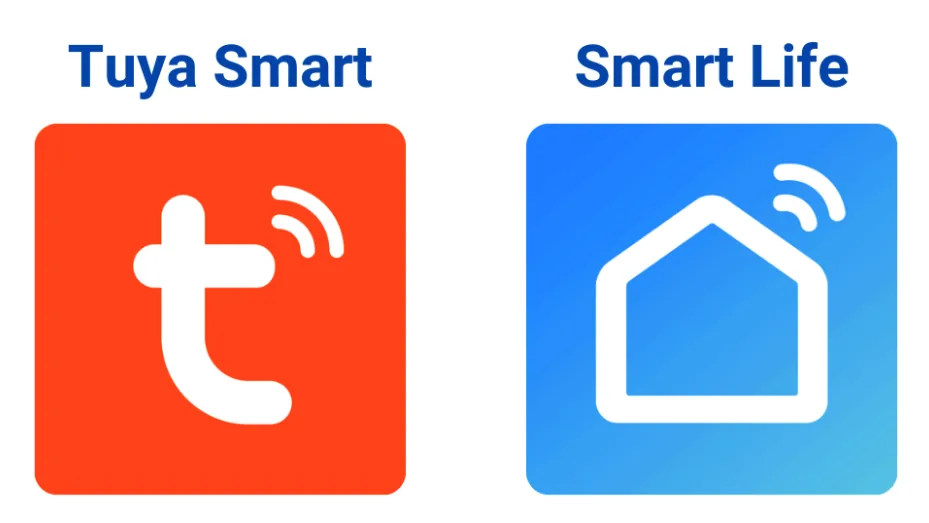
Note: Band Steering on some routers prioritises 5GHz and switches to 2.4GHz further from the router, but both bands then share one name and password. Turn it off to set separate names.
Tip: home routers often handle a maximum of 12 devices per band; beyond that, devices disconnect. An extender allows 300 or more with better range and management. Connect it by data cable (recommended), reuse the same 2.4GHz and 5GHz names and passwords, turn off the router WiFi, and devices will not need resetting.
B. Connecting lights
- Ensure you are on the 2.4GHz network.
- Devices can be added by Add Manually or Auto Scan; we recommend Add Manually.
- Select the light to pair. Enter pairing mode: turn it ON, OFF after 10 seconds, then ON.
- Next turn ON-OFF-ON-OFF-ON, keeping each interval short and turning OFF only after the light is ON.
- Confirm it flashes rapidly (four times per second).
- Add the device with the light ON. It then appears on your Home page.
C. Connecting smart switches
- Complete section A once the switch is wired and covered. Fit it straight with no side gaps, on a smooth surface, screws not over tightened: the sensor is light sensitive and any gap or uneven fit causes poor operation. Turn on main power only after installation with the crystal glass cover fitted. Opening tabs facing away from a door lintel or wall end ease later removal.
- Wait 10 seconds after the switch lights come on. On 1, 2, 3 or 4 gangs all indicators are green.
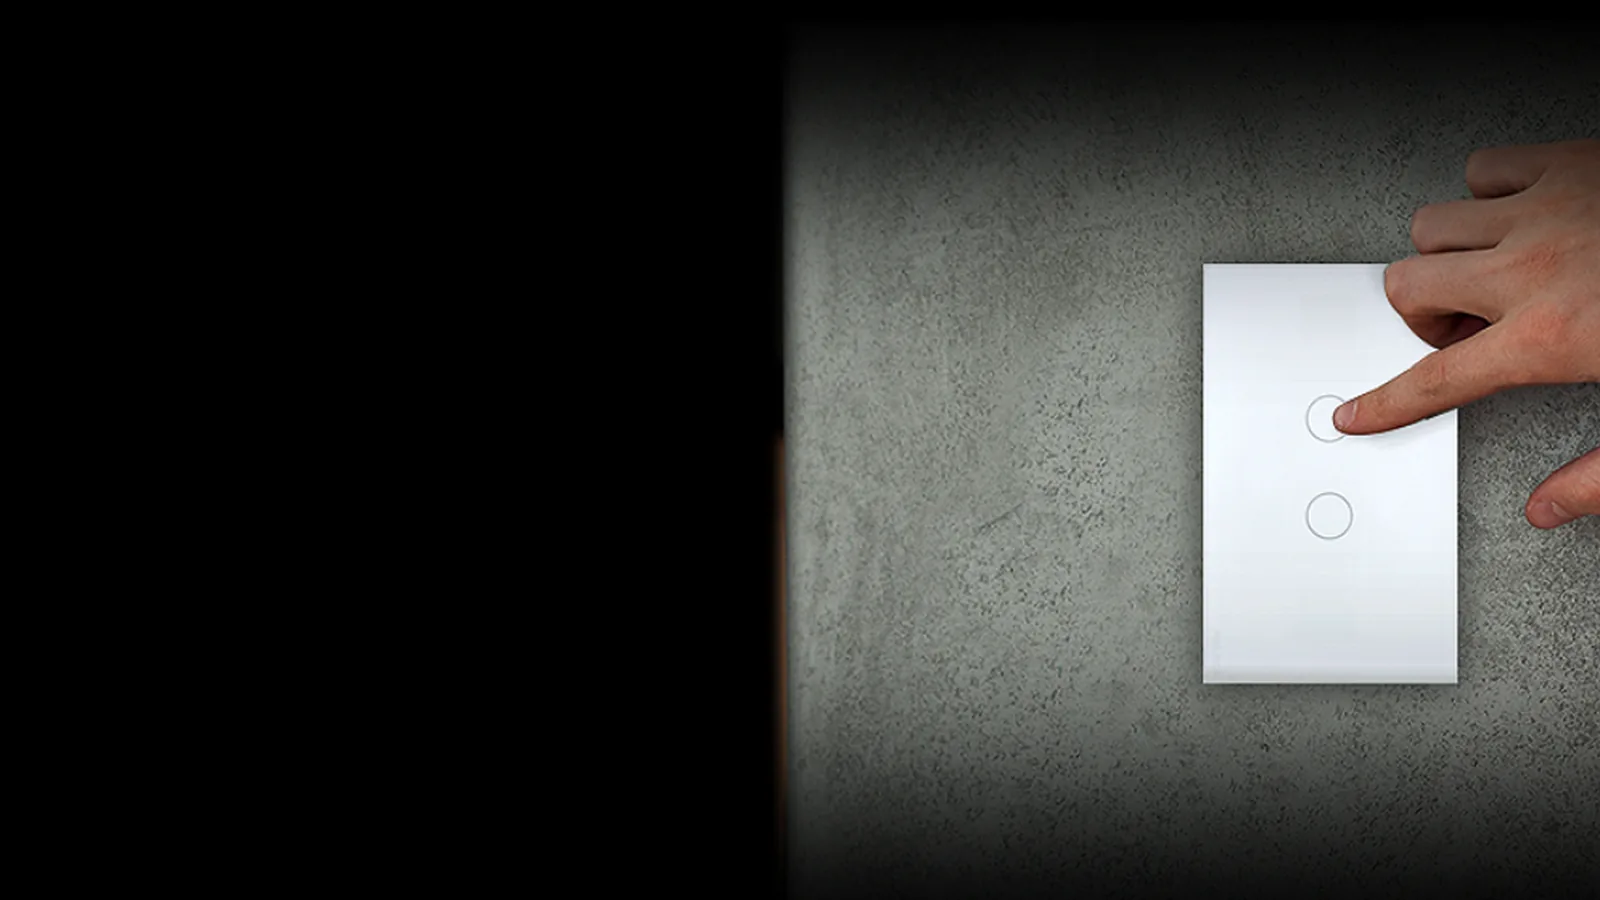
- Touch one switch (no pressure needed); it turns red.
- Touch and hold about 7 seconds. A slight click sounds and the WiFi indicator flashes blue quickly, ready to link.
- In the app select Electrical in the left-hand menu, then Switch WiFi, and follow the instructions.
- Rename the switch (Kitchen, Dining), then each individual switch (Downlights, Pendant, Strip Light).
- Once all switches are connected and named, pair any needed as 2-way or 3-way or linked to remotes or smart plugs: select the first switch, tap the top right Edit button, scroll down to Multi-control association.
- Select the individual switch to pair, push + Link with Switch, select the switch and individual switch to link, and save.
D. Pairing kinetic switches to receiver modules
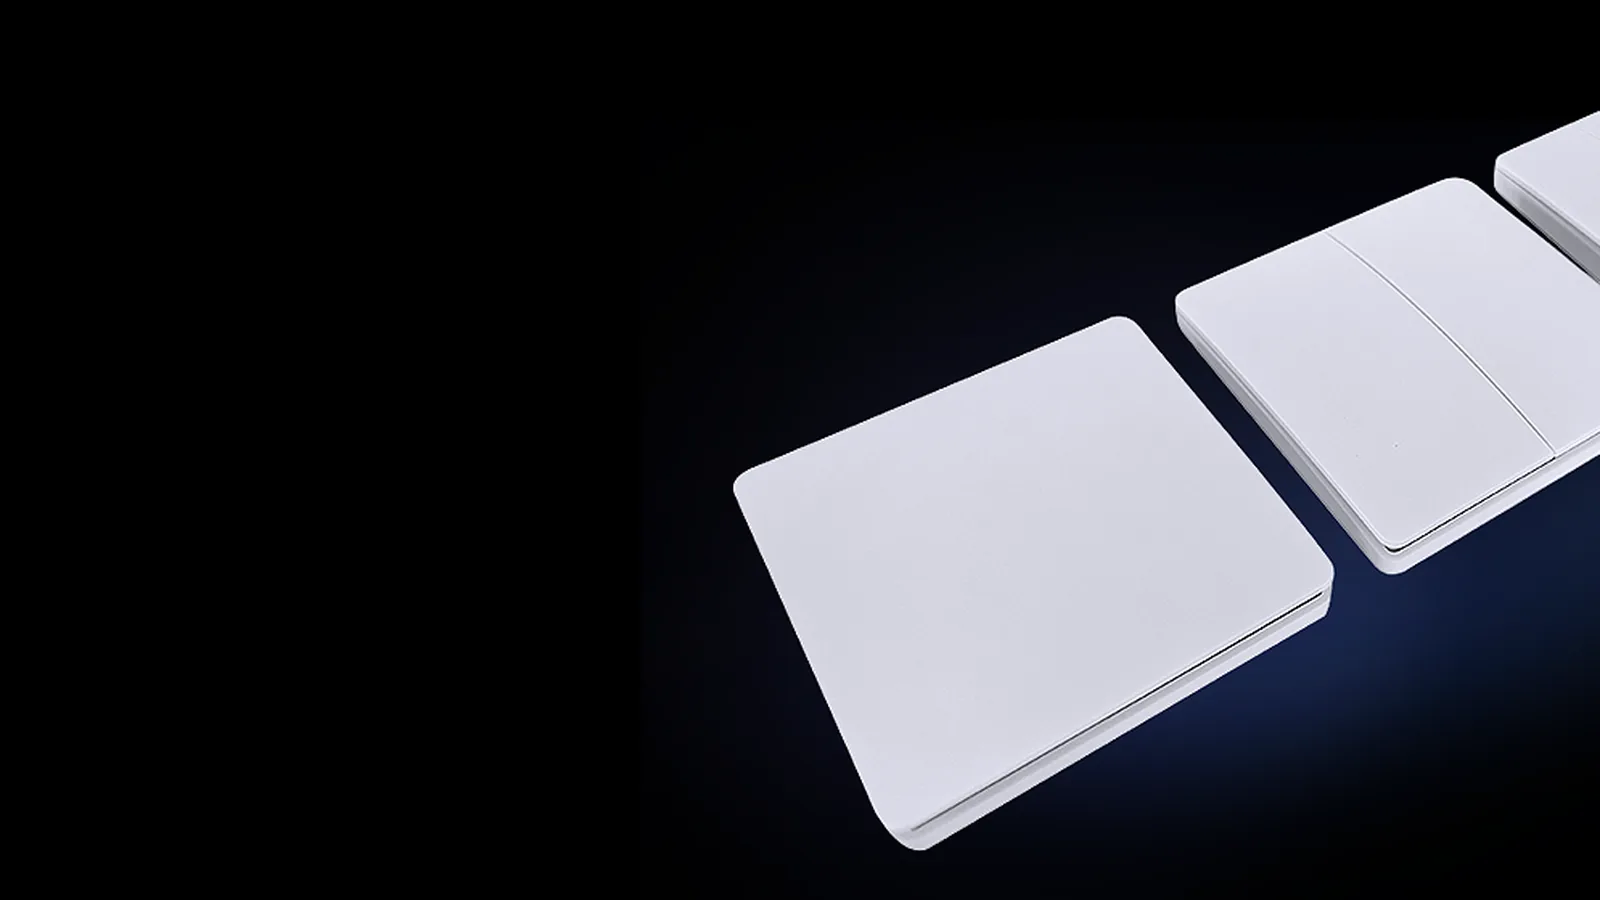
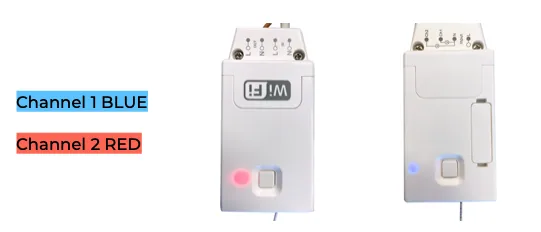
- With the receiver module wired, push the square linking button until the red light flashes slowly. Release, then push the kinetic switch once quickly. Push the correct switch, as unlinking is harder.
- To unlink, hold the square button about 12 seconds: the red light flashes slowly, then quickly, then stops. Release and the switch is unlinked.
- A dual receiver module drives 2 devices from different switches. Link the first as above: push 3 seconds until red flashes, release, push the first kinetic switch once quickly. For the second, push the square button twice quickly so the light turns blue, hold 3 seconds until blue flashes, then push the second kinetic switch once to pair it to the second output. Push the square button twice quickly to return to red.
- Multiple switches can link to one receiver and multiple receivers to one switch, so plan carefully or incorrect switching and unlinking will follow. A dual controller may need both red and blue channels unlinked.
- SMART receivers must join the home WiFi as in section A. When turned ON the red light flashes quickly. Open the app and push + to add a device.
- The receiver module appears; select Add device, then rename it.
- For a Smart Dimmer module, set the minimum level so light is visible with no flicker. Greenhse downlights dim 0 to 100% without flickering; other brands may not.
- Link a smart receiver to a kinetic switch: push + Pair, then push the kinetic switch once.
- With smart receivers on WiFi and linked to kinetic switches, many options open up under Scene at the bottom of the app.
E. Connecting Zigbee devices
- Add the Zigbee gateway first. Push RESET until the indicator flashes.
- Select Gateway Control on the Select Device Type menu, then Gateway (Zigbee), the 2nd option. The gateway's green light must stay on. Follow the app.
- The gateway then appears on the Home page.
- To add a Zigbee device, open Home, tap + in the upper right corner and find the device.
- Select the gateway, which should be no more than 5m from the Zigbee devices. Reset the device to pairing mode (indicator flashing) and add it.
- The Zigbee device then appears on the Home page.
F. Connecting a Bluetooth gateway
- Locate the wireless gateway (Bluetooth) under Gateway Control, as in E1.
- Power the gateway ON and turn on the phone's Bluetooth.
- Hold the gateway reset button for 5 seconds until one indicator flashes fast (red flashing, blue always on).
- Once added, open the gateway, select + Add Device, and add all devices together.
Fixed wiring must be done by a licensed electrician. For help, call Greenhse Technologies in Perth on (08) 9297 2969 or visit 5/1 Locke Lane, Ellenbrook WA 6069.
Shop the range